Laying up files for laser cutting
The first thing to do is work out which material you would like to use, this will dictate the sheet size you have to play with. All sheet sizes can be found on the materials page. The biggest we can cut is 900x600mm but not all materials are available in this size sheet so please take a look before starting your design or layout.
Once you know your sheet size you can make sure your design fits within that space. As you layout your design you need to leave a small gap between each piece (about 1mm) and also a 2.5mm area around the outside of the sheet (sheets are not oversize so anything right up at the edge will be cut off), so if your sheet is a 300x150mm then the largest safe design we can cut on this sheet size is 295 x 145mm.
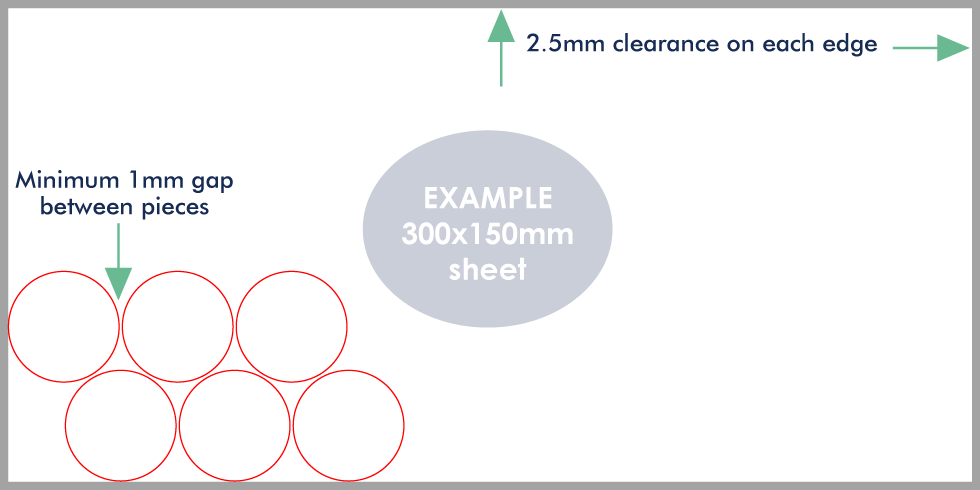
Knowing your sheet size is also a great way of working out the best size to make your design so you can make the most of the sheet, for example if your sheet size is 600 x 300mm and you want to cut circles that are 160mm then you would only fit 3 on a sheet, whereas if you reduced them a little to 145mm you would fit 6 making it more economical to cut, in most cases cutting the 3 circles would be the same cost as cutting 6 smaller ones.
Supplying your files
1. Supply us the design and let us layup the sheet for you
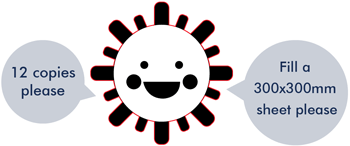 If you just need multiple copies of a single design the simplest way is to send us a vector file with your design in it and simply tell us how many copies you need.
We will lay up your file for you for the quantity you need and advise you on the most economical way of producing the piece. ie. sometimes its cheaper to order by the full sheet of designs – so if you are just a couple of items short of filling a full sheet we will let you know.
This method is great if you are just cutting just one design but need a few copies of it, pricing will be better if you want to fill a whole or half sheet, so we can advise you on the quantity that fits on the sheet and price for the full sheet of designs.
2. Supply already laid out for a specific sheet size
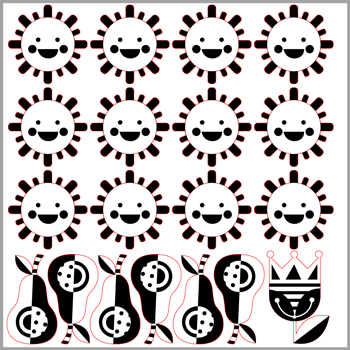 When ordering multiple different designs we ask that you set the sheet up yourself with all the quantities needed.
Rather than sending us the one design and a quantity you can send us the file already laid out for the sheet size of the material you want to use.
This is ideal if you have a bunch of different designs that you want to mix onto the one sheet, by carefully laying them out to fill the sheet you can save on material costs and cutting time. So the good thing about supplying your files this way is you can mix in as many different designs into a sheet as you want and have full control over the designs and quantities.
In this case when you arrange your designs be sure to leave a small gap between each piece – a 1mm gap between each design is a good rule of thumb and remember that you also want to leave at least a 2.5mm gap between your designs and the edges of the sheet.
The example here is a 300x300mm sheet size with the 12 copies needed and some extra designs to fill up the sheet.
Laying out designs efficiently
If you are supplying us with sheet with several designs on it you can minimise your costs by laying out your file efficiently. Prices are based on the time it takes to cut the whole job + material cost and by laying out your designs carefully you can reduce both.
Example 1: Setting up your files with etching on a 300x150mm sheet size.
Setup your etching from left to right and go down in rows from there, it’s always best to keep etching in the same area rather than scattered across the page, the job will etch quicker and therefore it will be cheaper.
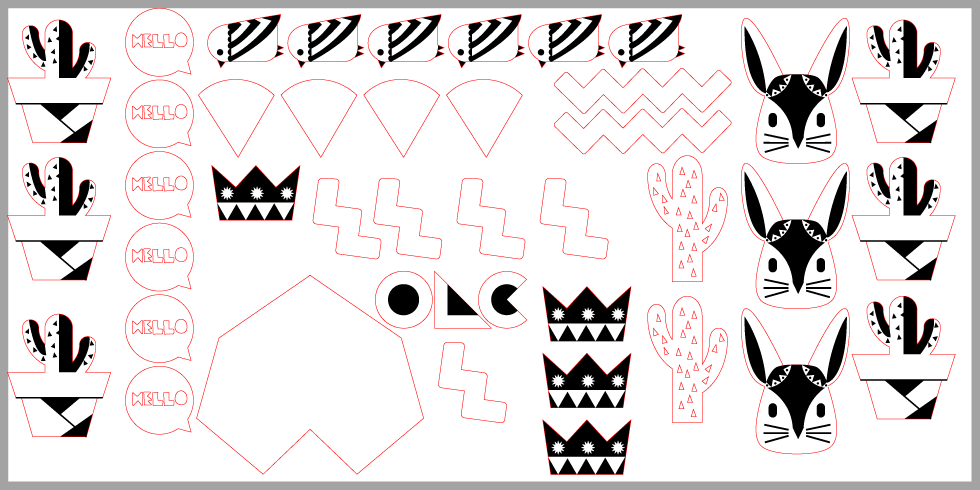
Below is an example of a file supplied at 300x150mm template. The grey border is a 2.5mm safe area around the outside of the sheet, your artwork should avoid going into this area. Cutting is quicker than etching so adding in extra small cuts in the gaps usually makes very minimal difference to the price.
Pieces can share cut lines if you want to lay them out this way, but just make sure you removed the double cut lines between the share pieces as the laser will cut these twice and cause it to burn.
Good example of file layout
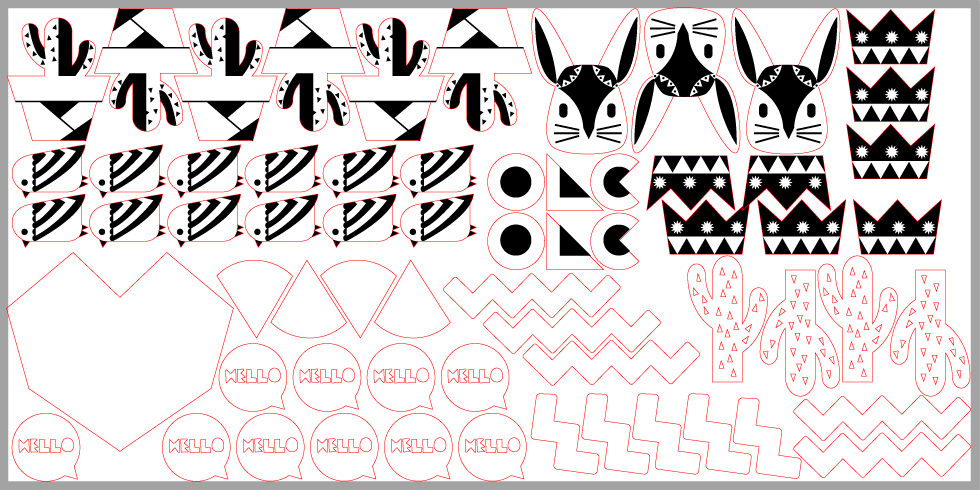
Example 3: Example of how you shouldn’t layout your etching – 300x150mm sheet.
If your file is setup like below, the pieces that need etching on each side will mean that the laser needs to run across the whole sheet just to get the etching on the left and right side side. The complete the engraving the machine goes back and forth like an inkjet printer so the time it takes to create the file below would be significantly more than the example above even though there are lots less pieces.
Not so good example of file layout
